OpenShift is Red Hat’s application hosting platform that makes it easy for developers to quickly build, launch, and scale container-based apps. Since this year, Red Hat also supports .NET Core 2.1, which brings us all the cool features of NET Core 2.1 and ASP.NET Core 2.1 to OpenShift.
Before we begin, we need the OpenShift Command Line Tools. You’ll find the tools for each platform either in the Red Hat Customer Portal or on GitHub. Simply download the the zip file for your platform, unzip it and you’re ready to go.
Under Fedora you can install the oc client by installing the origin-clients package:
$ sudo dnf install origin-clients
Red Hat offers several options trying OpenShift. There’s also a tool called minishift which allows you running OpenShift locally as a single-node cluster inside a VM.
For this tutorial, I am using the OpenShift Online Starter Plan, which is free and good for learning and experimenting. Signing up is quite easy. Just navigate to https://openshift.io/, click on SIGN UP and follow the process. When your account is created, open your browser, go to your Web Console and click on your name and select Copy Login Command
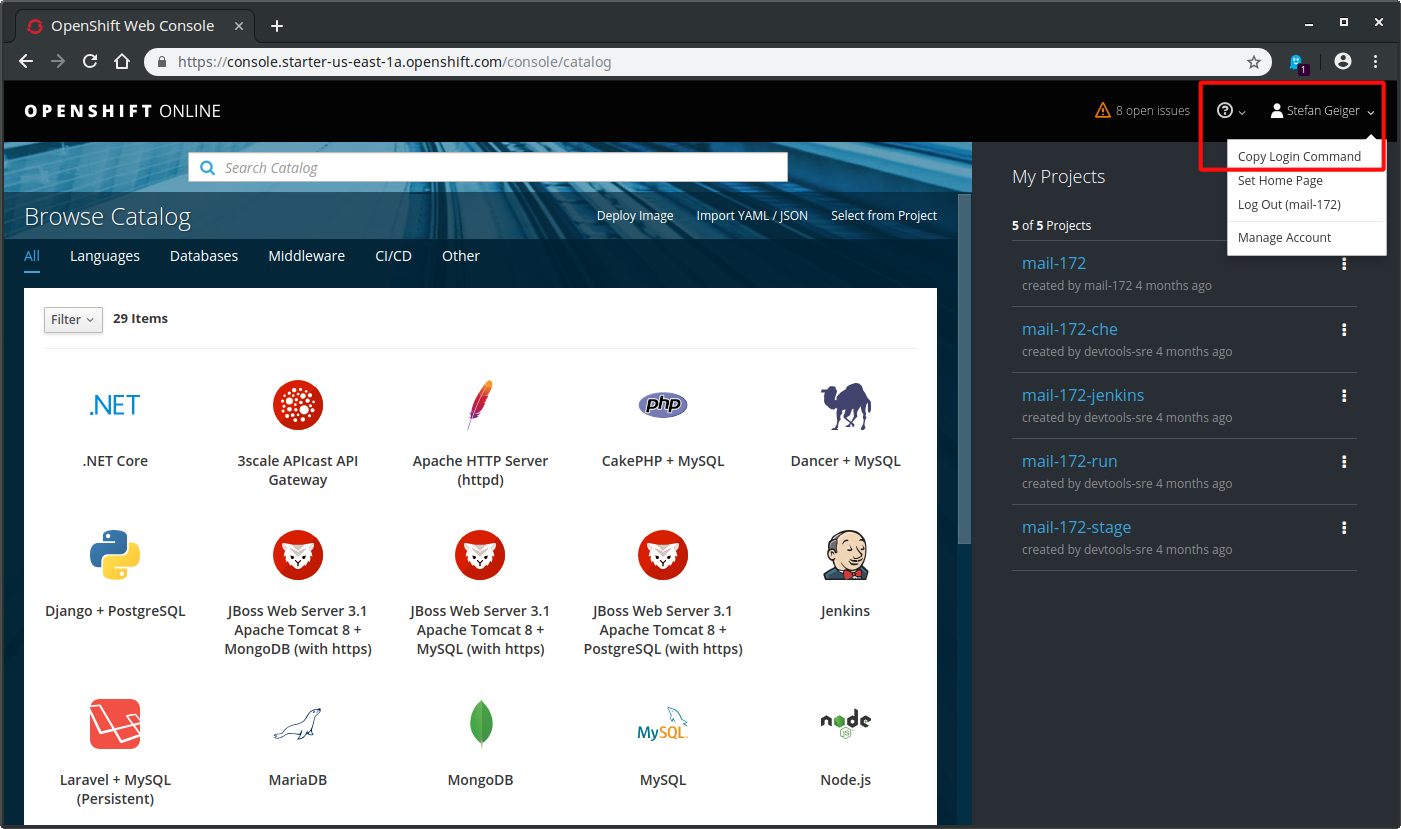
Paste the login command into a terminal an press enter
$ oc login https://api.starter-us-east-1a.openshift.com --token=<TOKEN>
you should see an output similar to
Logged into "https://api.starter-us-east-1a.openshift.com:443" as "mail-172" using the token provided.

You have access to the following projects and can switch between them with 'oc project <projectname>':

  * mail-172
    mail-172-che
    mail-172-jenkins
    mail-172-run
    mail-172-stage

Using project "mail-172".
Now, let’s create a new .NET Core Web app using the dotnet new command.
$ dotnet new mvc
Commit and push the generated app to GitHub, in my case its https://github.com/gest01/dotnetcore-openshift.git.
Let’s start creating a new app based on your public GitHub Repository using the oc new-app command. The oc new-app command takes a Git repository as the input command and optionally the builder image stream, which in this case is –image-stream dotnet.
Additionaly, you can set envionment variables for build process using the build-env option or use the env argument to pass environment variables to the application container at run time.
oc new-app --name dotnet-core-test --image-stream dotnet  https://github.com/gest01/dotnetcore-openshift.git
    --env DOTNET_STARTUP_PROJECT=dotnetcore-openshift.csproj
    --build-env DOTNET_SDK_VERSION=latest
    --build-env DOTNET_VERBOSITY=d
For a complete list of all supported variables by the .NET Core Builder checkout this link.
When OpenShift detects a valid .Net Core app, a build starts immediately. You can watch the build process with the oc logs command. In this case, we want to watch the build for the build container (bc).
$ oc logs -f bc/dotnet-core-test
With oc expose we can create a public route, which makes our application accessible from the internet
$ oc expose svc/dotnet-core-test
The generated route can be retrieved by oc describe route. Check the output for the Requested Host property, which is your public URL.
$ oc describe route dotnet-core-test

Labels:			app=dotnet-core-test
Annotations:		openshift.io/host.generated=true
Requested Host:		dotnet-core-test-mail-172.9a6d.starter-us-east-1a.openshiftapps.com